
Fence Material Takeoff: Posts, Panels, Rails, Gates, and a Layout Plan
Estimate fence materials from a staked layout, actual product dimensions, and separately planned gates. Keep property lines, footings, wind, and permit decisions outside the quantity shortcut.
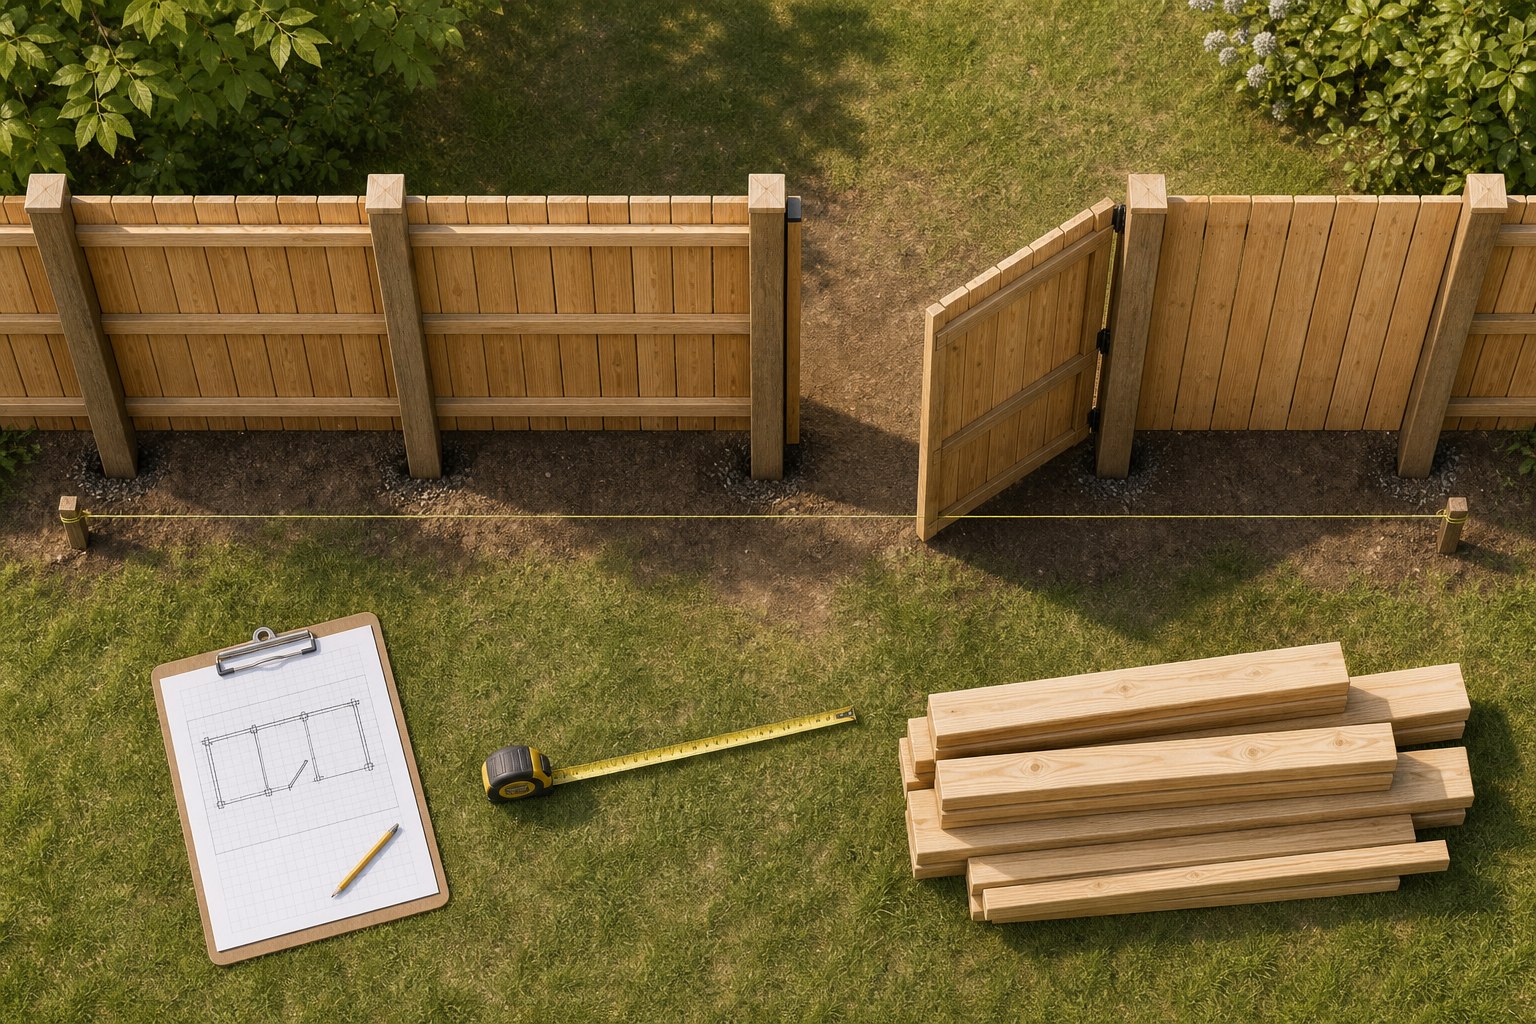
A fence material list should read like a small plan: the installed line, corners, ends, changes in direction, gate openings, post locations, and the exact system being purchased. A single perimeter measurement cannot tell you how many posts are needed, whether a stock panel fits the final span, or what hardware a gate needs. Our Fence Calculator can organize linear footage and material arithmetic, but it does not establish property lines, obtain permits, assess wind loads, design footings, locate utilities, or approve a fence for a particular site.
Stake and verify the line before ordering. A fence placed on an assumed property edge can be costly to move. Confirm boundaries, easements, local rules, utility-location requirements, and owner or association restrictions before treating the takeoff as a purchase order.
Begin with a layout, not a perimeter total
Sketch the fence in plan view. Mark every straight run, corner, end, return, grade change, gate opening, and point where the material or height changes. Give each run a letter and measure its finished centerline or intended installed line. A run that bends around a planting bed or steps around a house should be divided at the change, even if its total footage is short.
Then walk the proposed route. Check where posts could conflict with buried services, drainage, trees, retaining walls, concrete, or an existing structure. A material takeoff does not replace a utility-location process or field verification. It is better to leave an unresolved post as a question than to calculate a full package of panels for a line that cannot be built as drawn.
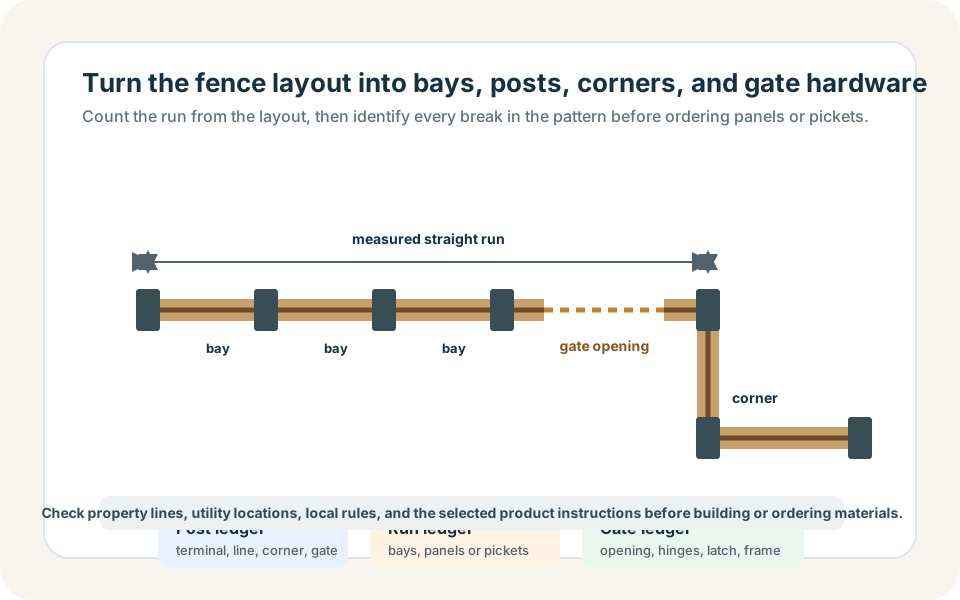
For example, a simple 60 ft straight run with no gates has two end posts and a series of intermediate posts determined by the selected system's permitted span. Add a 4 ft gate, a corner, and a 20 ft return, however, and the layout changes into several assemblies. The gate requires its own posts and hardware; the corner may need a different post or bracket; the return starts another run. That is why the line drawing comes first.
Choose the product system before calculating spans
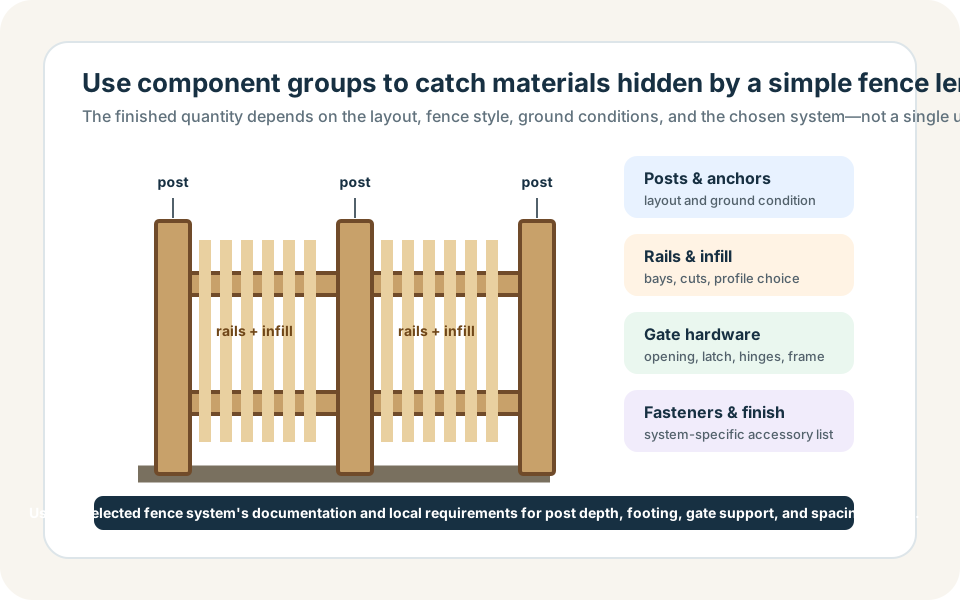
Fence products vary widely: wood pickets and rails, prefabricated wood panels, vinyl sections, ornamental metal panels, chain link, composite boards, and steel-post systems all use different components and spacing rules. Even products that look similar at a distance may have different post profiles, rail connections, panel widths, gate kits, fasteners, and instructions.
The Master Halco installation resources cited below are examples of manufacturer guidance for particular systems. They are useful because they demonstrate that components and layout rules are product-specific. They are not a universal design for every wood, vinyl, or metal fence. Before running quantities, obtain the current instructions and product dimensions for the exact supplier, style, height, and post system selected for the project.
Write these facts at the top of the worksheet:
- Fence style, height, and manufacturer or supplier product line.
- Nominal and actual panel, picket, rail, or board dimensions.
- Approved maximum span or post spacing from the selected system instructions.
- Post types for ends, corners, line posts, and gates.
- Rail, bracket, fastener, cap, trim, and gate-hardware requirements.
- Any special conditions for a slope, rackable panel, stepped section, or wall connection.
Count posts from layout points and allowable spans
First count the fixed posts: every independent end, every corner, every turn, both sides of every gate, and every system-required transition. Next, place intermediate posts along each straight run according to the selected product's allowed span. Do not calculate an intermediate-post count from a remembered universal spacing.
As a planning example, a 30 ft run using a documented maximum 8 ft span cannot be represented by three 10 ft spans. Divide the run so no actual span exceeds the product limit, then add the interior supports that create those spans. The final widths may not all be equal, particularly near a gate or corner; record the planned span widths on the sketch.
Count gate posts separately even when they occur at the end of a run. Gate loads, hinges, latches, and any manufacturer-specific reinforcement may require a different assembly than an ordinary line post. The calculator can count a post quantity, but the selected system documentation determines what type of post belongs in each position.
Calculate panels, rails, pickets, and boards from real dimensions
Prefabricated panels are usually ordered by the actual panel width that fits between the specified supports, not by an idealized 8 ft drawing. After the posts are placed, calculate full panels for the standard spans and treat the final cut panel or custom bay as a separate line. Confirm whether a cut panel needs a special rail, bracket, trim piece, or additional support.
For a site-built picket fence, calculate rails, pickets, and fasteners separately. Start with the measured run length between finished end conditions. Use actual board width and planned gap, then add a stated allowance for cuts, defects, or selected spare material. Do not assume a nominal board size is the same as its measured face width. A small difference repeated across a long run can leave the last bay too narrow or too wide.
The theoretical count is a beginning. The actual layout needs to decide whether the first and last gaps are balanced, whether a picket centerline aligns with a post, and how corners and gates terminate. A layout string and a small test bay are often more informative than rounding up a division result.
Make gates their own material assemblies
Do not subtract a gate opening from the fence length and stop there. A gate has an opening, two supporting conditions, a framed or manufactured leaf, hinges, latch, clearance, possible drop rod or stop, and the planned swing direction. The opening dimension is not necessarily the finished gate-leaf dimension. Follow the selected gate kit or manufacturer instructions for the actual clearance and hardware.
On the plan, label each gate with its clear opening, intended swing, hinge side, latch side, and any constraints such as a walk, slope, vehicle path, or house wall. Count its posts and hardware separately. If it is a double gate, treat each leaf and its hardware as a distinct component. A gate can be the most frequently used part of a fence, so it is worth protecting its detail in the takeoff.
Footings, concrete, slopes, and wind are not generic add-ons
Post embedment, footing diameter, concrete quantity, drainage treatment, and bracing can depend on soil, frost conditions, fence height, wind exposure, system type, local code, and the manufacturer's instructions. This article does not provide those dimensions. If the responsible project documents specify concrete or another footing material, calculate it from the documented hole geometry with the Concrete Calculator. Do not use a quantity calculator to decide whether concrete is needed or how deep a post should be installed.
Slopes deserve a separate look. A stepped fence, a rackable panel system, and a custom site-built fence can have very different post, rail, and gap details on the same grade. Measure the actual run length, identify the grade changes, and confirm the system's method before ordering standard panels. A panel that works across level ground may not fit a steep or uneven route without a redesign.
| Takeoff item | Measured or counted from | Must be confirmed separately |
|---|---|---|
| Fence runs | Staked or documented installed line | Boundary, easements, utilities, and local rules |
| Line posts | Approved span layout | Exact system spacing and post type |
| Panels or boards | Actual bay widths and product dimensions | Cut-bay and slope details |
| Gate assembly | Opening, swing, and hardware plan | Support, clearance, latch, and product instructions |
| Footing material | Documented hole geometry | Depth, soil, structural, and code requirements |
State any extra material in plain language
There may be a valid reason to order spare pickets, an additional board, replacement hardware, or one extra panel for a damaged cut. List it separately and explain why. For example, a visible note such as two spare pickets for field cuts and future repair
is more useful than inflating every line item with an unexplained percentage.
Do not add material to cover an unknown property line, a missing permit, or an unresolved structural condition. Those are decision gates, not waste factors. If the fence line or system is not approved, mark the estimate preliminary and avoid placing the order.
Final fence-order check
Read the plan from one end to the other. Each segment should name its start post, end post, intermediate spans, panel or board treatment, and any special connection. Each gate should have posts, leaf or kit, hinges, latch, and a discharge-free swing path. Compare the final bill of materials with the exact supplier catalog and current installation guide. Then confirm that all local approvals, property information, and utility checks are complete before construction begins.
A strong takeoff does not pretend that a fence is only a line of wood or metal. It translates a verified layout into components while openly leaving legal, structural, soil, and installation decisions where they belong.
Sources and assumptions
These links support the specific material, product, or reference points used in this guide. Local conditions and supplier specifications can still vary.
- Master Halco: PostMaster+ Installation Resources Manufacturer installation resource for a specific fencing system. Use the current instructions for the selected system rather than applying its details to an unrelated product.
- Master Halco: PostMaster Horizontal Installation Guide Example of why spacing, components, gates, and installation details are system-specific. Confirm the current guide for the actual materials being purchased.