
How to Estimate Tile and Grout: Layout, Cuts, and Product Coverage
Estimate tile from a layout plan, make the cut allowance visible, and use the exact grout and mortar product data rather than a universal coverage rule.
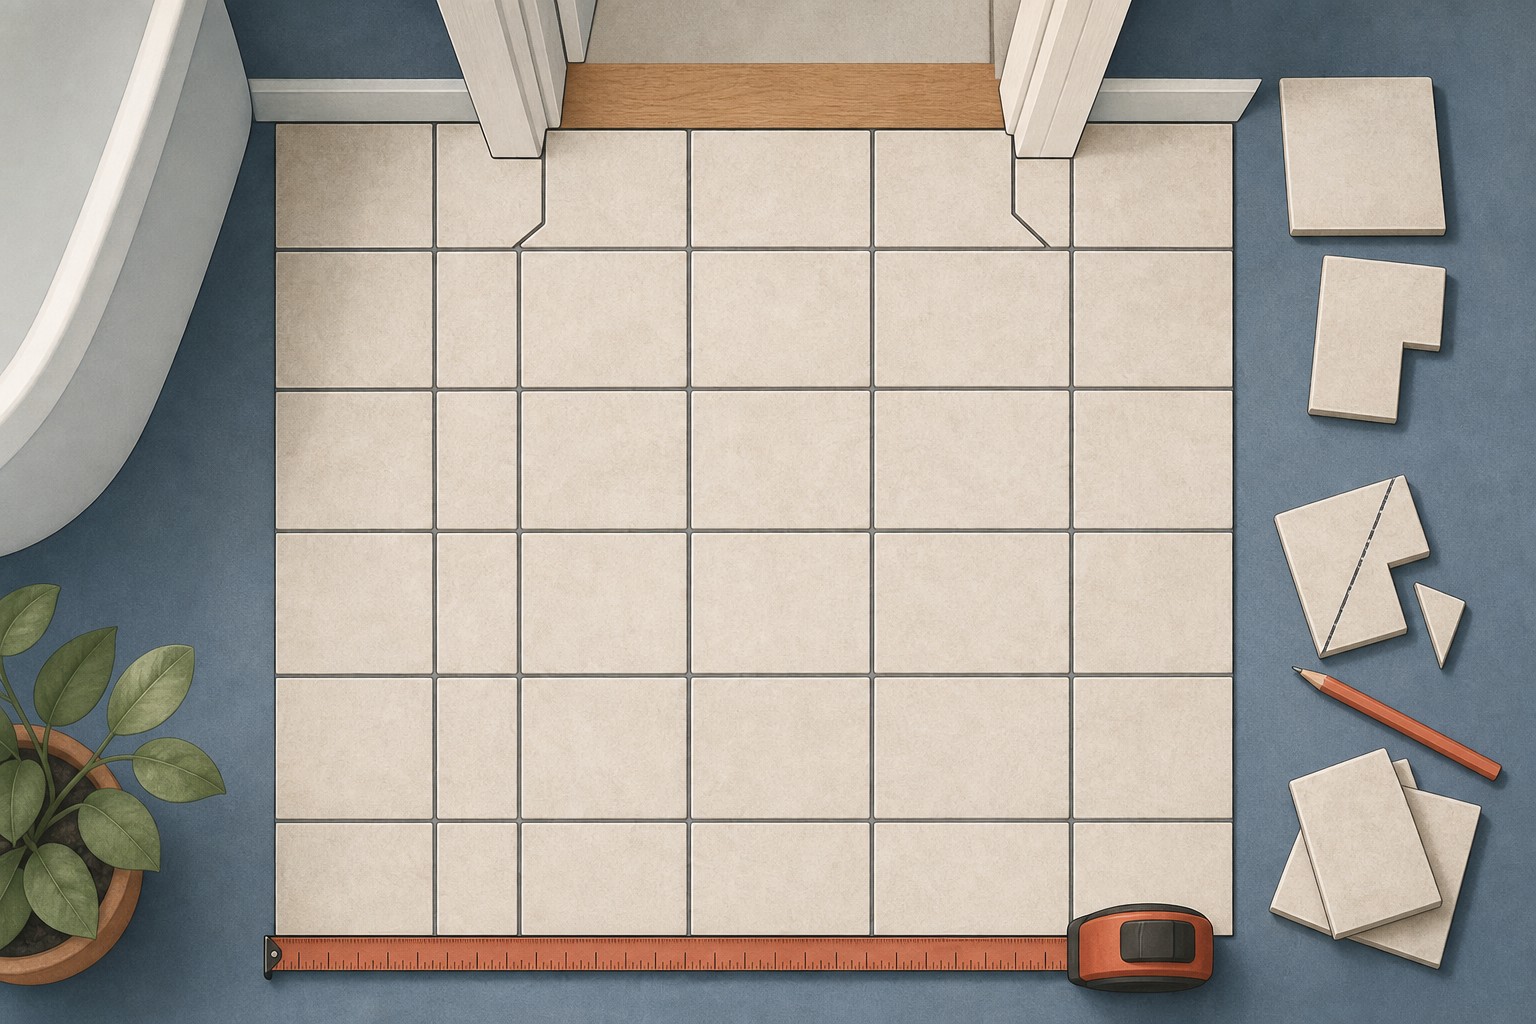
Tile estimating is most accurate when it follows the layout that will be installed. Start with the finished surface area, decide where the layout begins and ends, account for perimeter cuts and features, then use the exact selected grout and mortar data for product quantities. Our Tile Calculator helps with the arithmetic, but it does not choose a suitable substrate, waterproofing system, or installation standard for the project.
Do not treat a coverage estimate as an installation specification. Tile backers, substrates, movement joints, waterproofing, mortar, grout, and wet-area conditions must follow the selected system, applicable code, and product instructions.
Measure the finished tile field
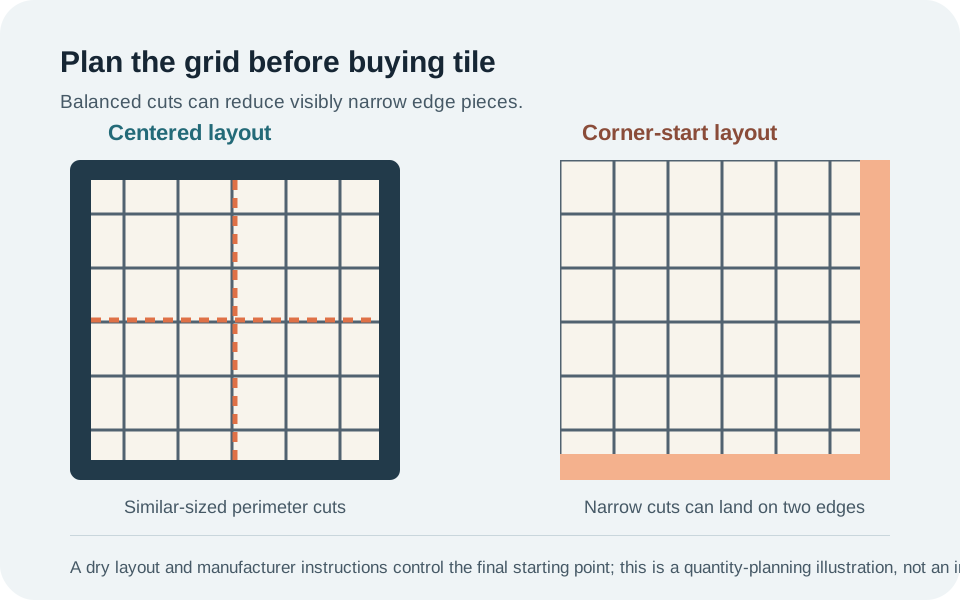
Calculate the gross floor or wall area, then record exclusions such as a cabinet footprint, window opening, niche, drain, or fixture. Keep the surface shape and layout direction on the same sketch. A rectangular 120 sq ft room may require a very different tile count depending on whether the cut pieces are balanced at opposite walls or concentrated at one edge.
For non-rectangular areas, divide the field into simple shapes and record each result. Use the Square Footage Calculator if that makes the area takeoff clearer.
Calculate nominal tile count, then check the layout
For a tile measured in inches:
Example: a 12 in by 12 in tile has a nominal face area of 1 sq ft. A 120 sq ft field therefore has a theoretical minimum of 120 whole tiles before cuts. That number is a starting point, not a box count.
Next, draw centerlines, locate the first row, and examine the cuts around walls, openings, and transitions. Check the manufacturer's stated coverage per box and whether all material should come from the same production lot. The goal is not to promise an exact
count; it is to document an order that matches the actual layout.
Make the allowance a visible layout decision
Instead of declaring a fixed percentage for every project, state what the allowance covers: perimeter cuts, diagonal or pattern cuts, breakage, future repairs, and the availability of matching material. A simple planning table helps:
| Item | Count or area | How it was determined |
|---|---|---|
| Theoretical full-tile count | Surface area ÷ nominal tile area | Geometry only |
| Layout/cut allowance | Stated quantity or percent | Based on the drawing and pattern |
| Box rounding | Supplier coverage per box | Product packaging |
| Spare material | Stated amount | Owner/project decision |
For example, a straight centered grid and a diagonal pattern can create very different offcuts even if their surface area is identical. A clear layout is more valuable than copied percentage advice.
Grout is a volume calculation tied to a product
Grout use depends on the tile length, width, thickness, joint width and depth, grout density, surface texture, waste, and the exact product. MAPEI and LATICRETE both publish product-specific calculators or coverage tables and caution that jobsite conditions affect actual consumption.
Record these inputs before ordering:
- Tile length, width, thickness, and whether actual dimensions differ from nominal size.
- Planned joint width and depth.
- Selected grout product, color, package size, and current manufacturer coverage data.
- Surface conditions, textured tile, cleaning loss, repairs, and a stated allowance.
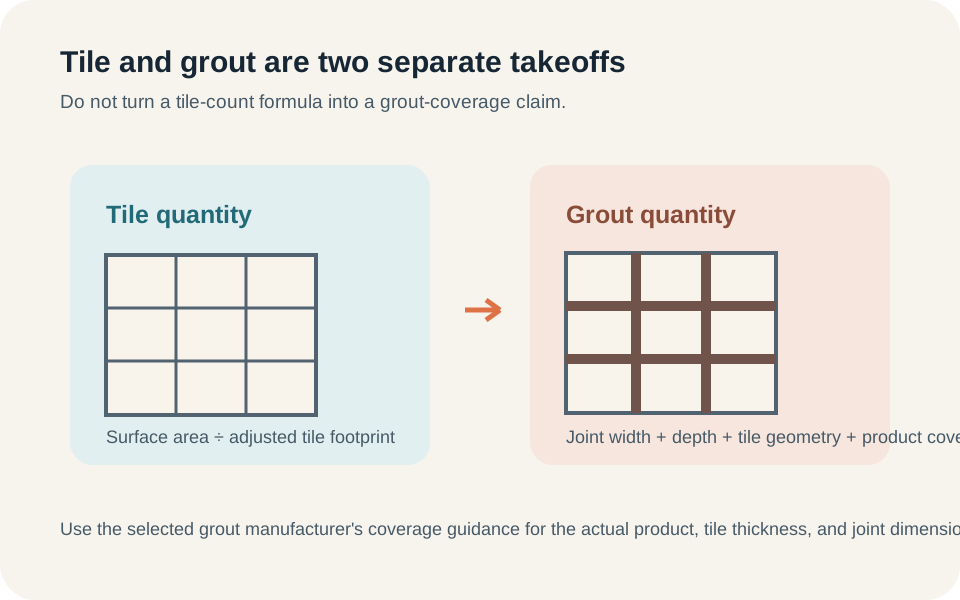
Do not use a generic pounds per 120 sq ft
value as a final purchase quantity. It can be wrong for a different tile format or joint. Use a manufacturer calculator or technical data sheet for the exact product and add only a documented overage.
Mortar, backer, and wet-area limits
Thinset coverage varies with trowel geometry, substrate flatness, tile back-buttering requirements, tile size, and the chosen mortar. In wet areas, backing and waterproofing are system decisions, not a generic tile quantity. The 2024 IRC references specific ANSI standards for ceramic-tile installation and requires appropriate backer materials in tub and shower wall conditions. Verify the adopted local code and follow the entire selected manufacturer's system.
Verification pass: test the layout against full-box coverage
Start with the net tiled area and the stated coverage of the exact box. In a simple example, 120 sq ft of coverage divided by a product that states 15 sq ft per box equals 8 boxes before cuts and any documented spare material. That arithmetic is only a packaging check. It does not prove that eight boxes contain the right number of tiles for the selected pattern, or that the nominal dimensions match the tile you will receive.
Make a small scaled layout before rounding the order. Mark the centerline or starting edge, tile direction, borders, transitions, and obstacles. Then identify the narrow cuts and the offcuts that can actually be reused. A layout that appears to use the same total area can produce very different waste when it is shifted by half a tile, when a border is added, or when the pattern changes. Keep the base tile count, manufacturer box coverage, and chosen extra quantity as separate notes.
Use the package label as the final unit check
Before purchasing, compare the calculator inputs to the product label: actual tile dimensions, pieces per box, stated coverage, shade or lot information, and the grout and mortar products selected for the installation. If a supplier substitutes a different tile size or a different box coverage, rerun the estimate. This prevents a correct area calculation from being paired with an outdated package assumption.
Decision point: product quantity is not substrate approval
A tile and grout takeoff cannot decide whether a floor is flat enough, a structure is suitable, a shower is waterproofed, or a backer and mortar form an appropriate tested system. Those are installation and code questions that must be resolved before the quantity becomes an order. If the substrate, movement treatment, wet-area system, or selected product is not confirmed, present the result as a preliminary material estimate and verify the complete installation system with the responsible installer, project documentation, and manufacturer instructions.
Use the calculator as an estimate, not a project approval
The Tile Calculator can compare surface area, tile size, box coverage, joints, and a visible allowance. Use the Flooring Calculator for broader floor takeoffs. The result is an ordering estimate; it does not verify substrate flatness, structural deflection, waterproofing, or code compliance.
Sources and assumptions
These links support the specific material, product, or reference points used in this guide. Local conditions and supplier specifications can still vary.
- 2024 International Residential Code, Chapter 7: Wall Covering References ANSI installation standards and the requirement to use suitable backing materials and manufacturer recommendations in relevant wall-tile conditions.
- MAPEI Tile Grouts Calculator Demonstrates that grout coverage depends on tile dimensions, joint geometry, product, and job conditions; published coverage is an estimate.
- LATICRETE Pre-Mixed Grout Product Datasheet Example of manufacturer-specific grout coverage and product limitations; use the selected product's current data sheet for a final order.