
How to Build a Deck Material Takeoff: Boards, Framing, and Fasteners
Turn a deck sketch into a transparent material takeoff by separating the walking surface, framing, connections, hardware, and waste instead of relying on one square-foot rule.
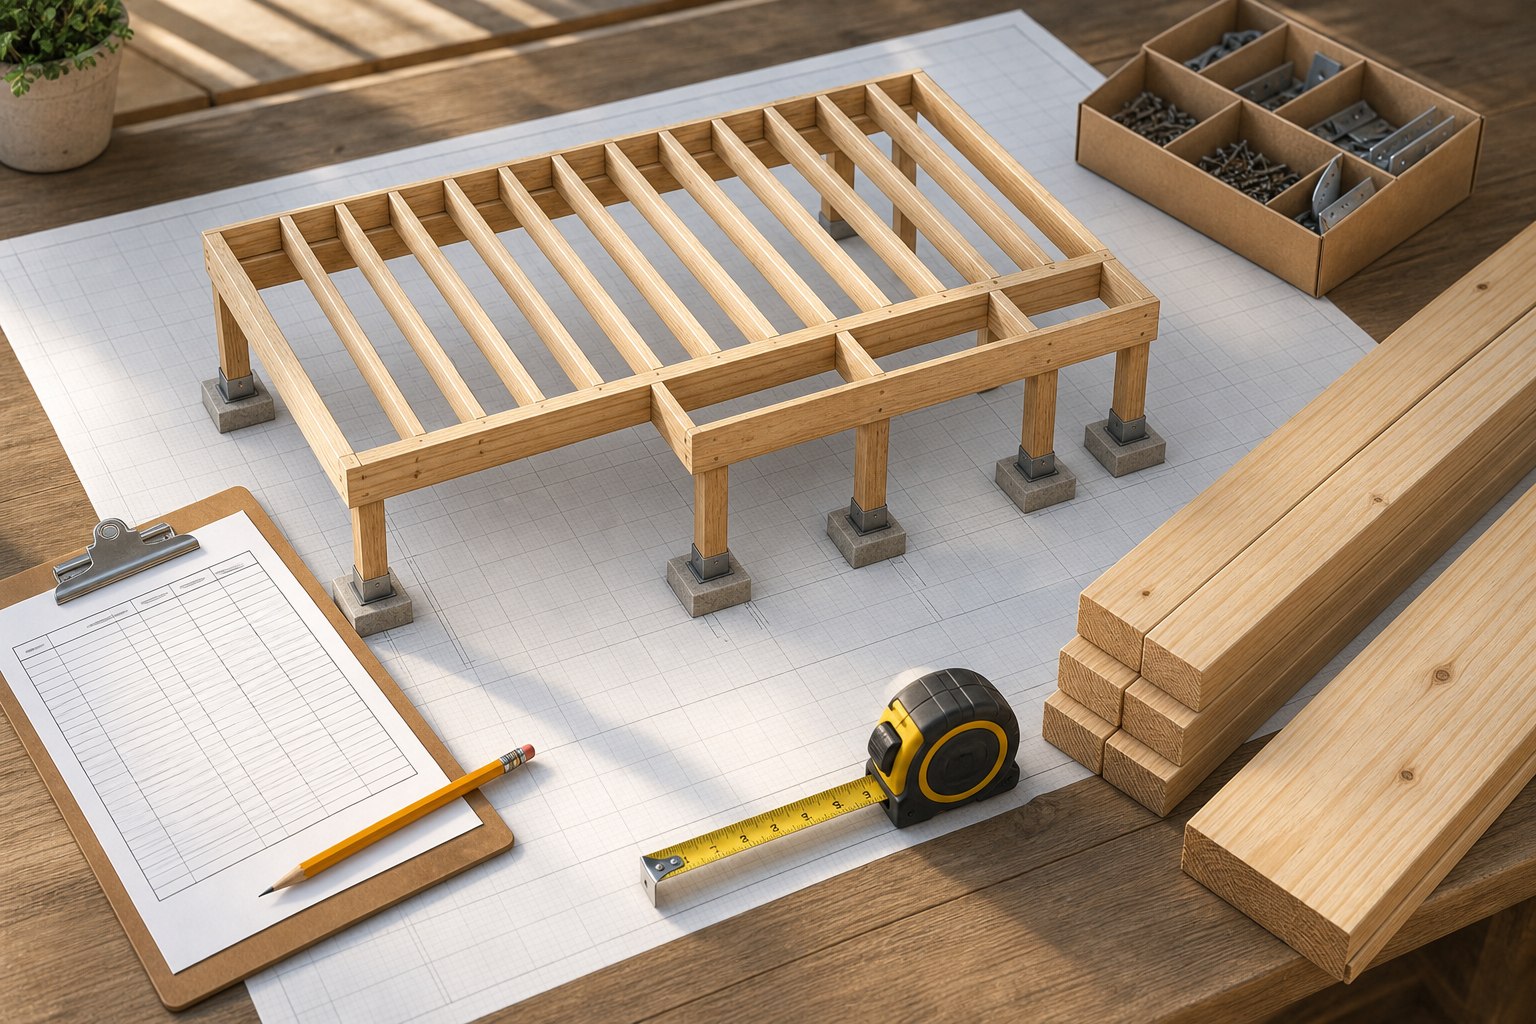
A deck material takeoff is a record of what the drawing requires, not a promise that a deck is safe to build. Start with a dimensioned plan, decide which way the decking boards run, and then count the walking surface, framing, edges, stairs, rails, and connectors as separate jobs. Our Deck Calculator can help organize the arithmetic. It does not choose spans, footing sizes, ledger details, fasteners, guards, or permit requirements for a particular property.
A material takeoff is not structural design. Deck attachments, footings, beams, joists, guards, stairs, flashing, and connectors must follow the adopted local code, the approved plans, and the selected manufacturer instructions. The American Wood Council guide linked below is a reference, not a replacement for the jurisdiction or a qualified project professional.
Begin with a plan that answers practical questions
Write the finished deck length and projection, then mark doors, existing walls, steps, posts, corners, a grill bump-out, a picture-frame border, and any angle. Mark the proposed board direction with an arrow. That one arrow matters: joists generally run perpendicular to the decking boards, so rotating the board direction changes the framing layout and the number of board seams.
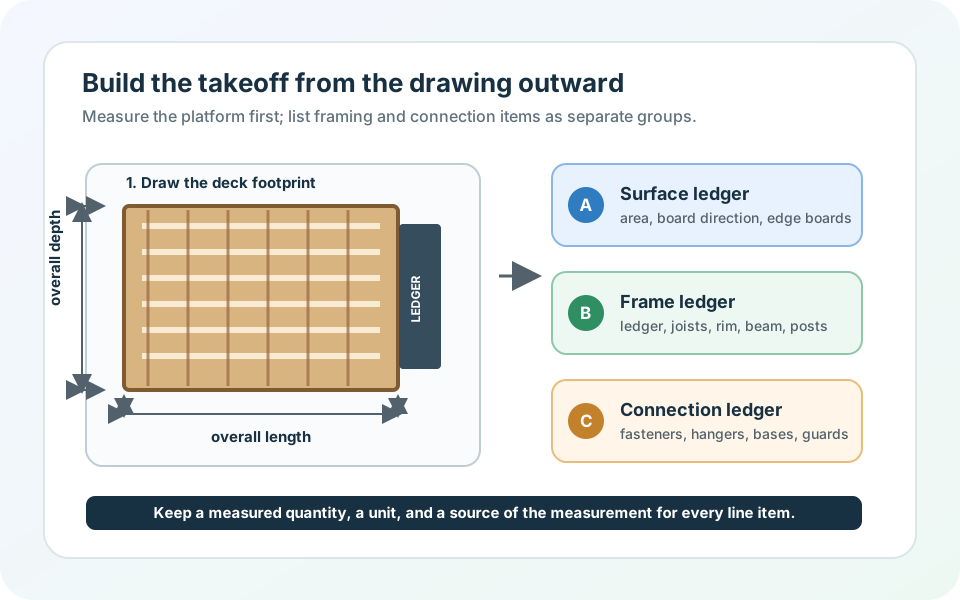
Keep the information in four layers. The first layer is the finished footprint. The second is the framing grid. The third is the visible finish: decking, fascia, trim, rail, and stair treads. The fourth is the connection list: hangers, anchors, bolts, screws, flashing, post bases, and other product-specific parts. A square-foot total alone cannot reliably produce all four layers.
For an L-shaped or stepped deck, split the footprint into rectangles, calculate each area, and label the result on the sketch. Do not subtract every small feature automatically. A planter, a column, a post sleeve, or a stair opening may reduce decking but add trim, blocking, or framing work.
Calculate decking from board coverage and layout, not only area
Measure the actual face width of the product, including the planned gap only if the manufacturer permits that method of estimating. Composite, PVC, hardwood, and nominal lumber do not all have the same usable coverage. A board that is sold as 5/4 by 6 has a different finished face width than its nominal description suggests, and grooved boards may need matching hidden-fastener spacing.
Then choose the available board lengths. A 16 ft by 12 ft deck with boards running along the 16 ft direction may use full-length boards if the product is supplied in that length. If boards run across the 12 ft direction, the long deck dimension becomes a row count and the 12 ft length becomes the cut length. Neither direction is automatically better; the plan needs to show seams, border boards, and waste before an order is placed.
Use a simple cut list for each zone: field boards, picture-frame border, breaker boards, fascia, stair treads, and any diagonal or curved section. List the length, quantity, and source stock length for each cut. A short offcut should only be counted as reusable if it fits a named later cut. Treating every offcut as reusable is an easy way to order too little.
Turn the framing sketch into quantities
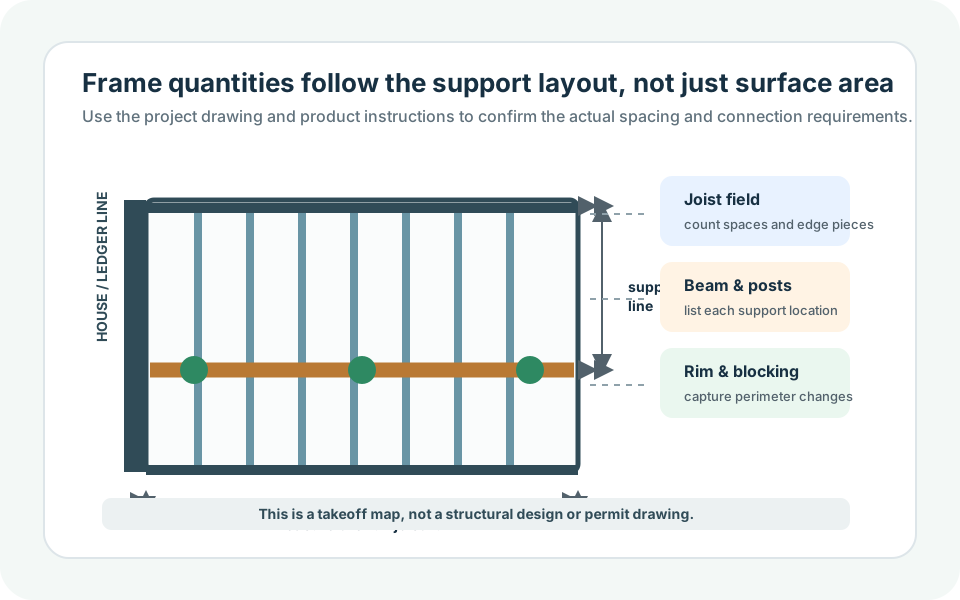
Frame quantities come from a layout, not from the number of deck boards. Draw the supporting side, beam lines, joist direction, rim boards, blocking locations, stairs, and posts. The span and spacing are design and code matters; use only an approved layout for the takeoff. Once the layout is defined, count actual members rather than estimating an undifferentiated pile of lumber.
| Material zone | What to record | Why it stays separate |
|---|---|---|
| Joists | Size, spacing, full length, and count | Spacing and span drive quantity |
| Rim and band boards | Each perimeter run and splice | They are not interchangeable with all joists |
| Beams and posts | Approved size, location, and number | These are structural decisions, not area allowances |
| Blocking | Rows, bays, and purpose | Blocks occur at specific locations |
| Stairs and railing | Separate geometry and product system | They add material without matching deck area |
A short worked example makes the distinction clear. Suppose a plan calls for a 12 ft projection with joists at a stated spacing across a 16 ft width. Count the joist positions from the approved layout, then add only the specified rim and blocking. Do not infer beam or footing sizes from this example. A board-and-area estimate can help order the surface material, but it cannot validate the support system.
Make hardware a line-item schedule
Hardware is often missed because it is not visible in the finished deck. Build a separate schedule from the detail drawings and product instructions: ledger flashing, approved ledger fasteners where a ledger is allowed, joist hangers, hanger fasteners, post bases, post caps, hold-downs where specified, railing hardware, hidden-fastener clips, screws, and stair hardware. Write the exact product family and compatible fastener requirement beside every item.
Do not substitute an arbitrary screw count for a manufacturer fastening pattern. The required fastener type and spacing depend on the decking product, installation orientation, exposure, edge treatment, and connection. Package coverage is useful for an initial count, but the current installation instructions are the final check. The same caution applies to connector nails and screws: a connector is tested with specified fasteners, not any nearby fastener that appears to fit.
Allow for waste with a reason
State the allowance separately from the measured requirement. A simple square deck with full-length field boards may have limited cutting loss. Angled boards, herringbone patterns, picture-frame borders, stairs, long fascia, and multiple interruptions create more cuts and potentially more color or grain selection loss. Instead of applying one percentage to every item, record the reason for each extra quantity.
- Decking: account for end cuts, non-reusable offcuts, selected board lengths, and future replacement material if the owner wants it.
- Framing: order by the approved member schedule and account for stock-length optimization, not by adding a hidden percentage to a structural layout.
- Fasteners and clips: use product package coverage and add a small documented contingency only after the field count is known.
- Fascia and rail components: count complete runs, corners, returns, post sleeves, and transitions separately.
Check the order against how the deck will be built
Before ordering, walk the plan in installation order. Can material be delivered in the stock lengths listed? Is there a place to store long boards flat and dry? Are stairs, a door threshold, rail posts, a drainage feature, or a siding detail changing the sequence? Does the visible board layout create short end pieces or require a breaker board? These are not cosmetic questions: they expose missing blocking, trim, fasteners, or cuts in the takeoff.
Use the Lumber Calculator to compare board-foot or linear-lumber quantities and the Stair Stringer Calculator only after the approved stair geometry is known. A material list should be updated when the drawing, product, code requirement, or supplier package changes.
What this guide deliberately does not decide
This guide does not determine whether a ledger attachment is appropriate, whether existing construction can carry the load, which footing is required, how deep it must be, whether a guard is required, whether a stair geometry complies, or how water should be managed at the house. Those questions need the adopted local rules, site information, product details, and, where required, permit review or qualified design input. Present any takeoff made before those decisions as preliminary.
A strong deck takeoff leaves a clear audit trail: drawing revision, dimensions, board direction, products, stock lengths, cut list, framing schedule, hardware schedule, allowance reasons, and source documents. That is more useful than a single impressive total because it lets a supplier, installer, or future you see exactly what changes when the plan moves.
Sources and assumptions
These links support the specific material, product, or reference points used in this guide. Local conditions and supplier specifications can still vary.
- American Wood Council: Prescriptive Residential Wood Deck Construction Guide A technical reference for prescriptive residential wood-deck construction details. Confirm the adopted local code, site conditions, and whether the guide applies before using it for design or permitting.
- American Wood Council: DCA 6 resources Use the current official publication and local jurisdiction requirements when a project needs structural, connection, or permit decisions.