
How to Estimate Insulation: Batts, Rolls, and Blown-In Coverage
Build an insulation takeoff from the actual surfaces, cavities, and product label. Keep material coverage, air sealing, moisture control, and design decisions separate.
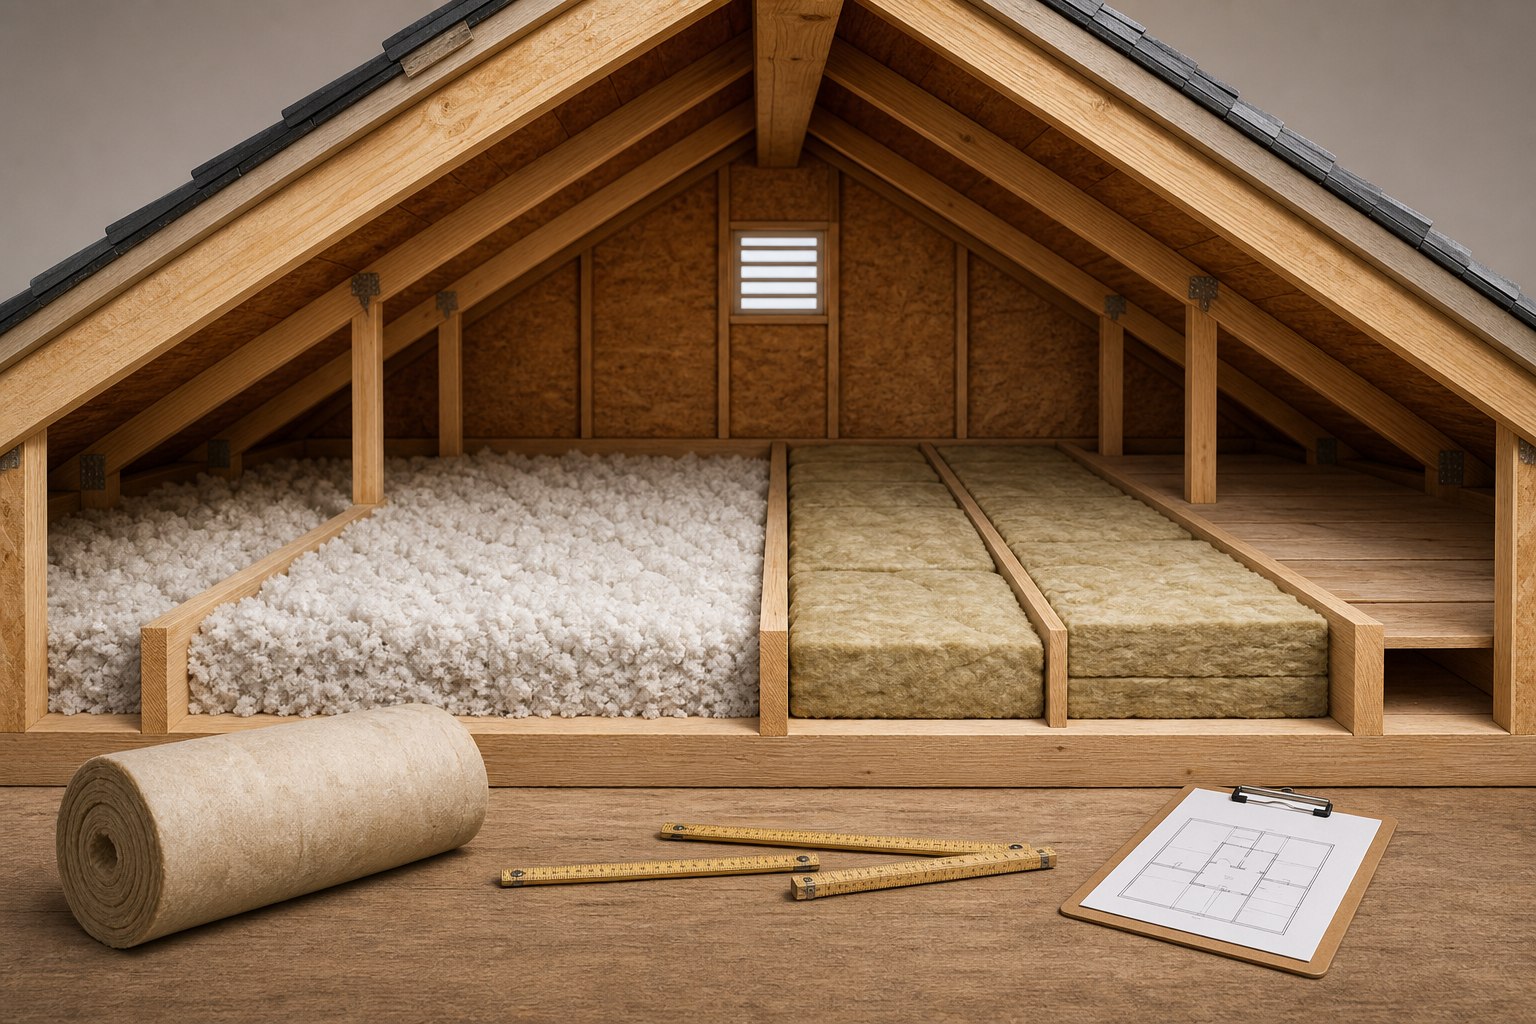
An insulation estimate is a material takeoff, not an energy audit or a building-design approval. The useful question is simple: which surfaces will receive which product, and how much of that exact product is needed? Answering it well means separating the attic floor from exterior walls, separating batts from rolls or loose fill, and preserving the information on the manufacturer label instead of replacing it with a universal rule.
Our Insulation Calculator can organize area and coverage arithmetic. It cannot determine the required thermal performance for a climate zone, confirm ventilation or moisture details, or decide whether a concealed condition can safely receive insulation. Those decisions belong in the project documents, applicable code, and the chosen product system.
Keep a takeoff separate from a specification. Product type, facing, thickness, thermal rating, fire and moisture requirements, air sealing, wiring clearances, ventilation, and local code are not solved by a square-foot calculation.
Start with a map of the insulation locations
Walk the drawings or the building and make a short location list before entering any dimensions. A practical list might include attic floor, cathedral ceiling, exterior stud walls, rim or band areas, garage separation walls, and small areas around access hatches. Do not combine those areas merely because they are all called insulation. They may need different materials, widths, depths, or installation treatments.
For each location, write down the framing or receiving condition, the measured length and height or width, deductions that are genuinely not insulated, and the intended product. Mark unfamiliar conditions instead of quietly assigning them a quantity. An uninsulated access hatch, a duct chase, a recessed fixture, or a wall with an unknown vapor-control detail is more useful as a visible question than as a guessed number.
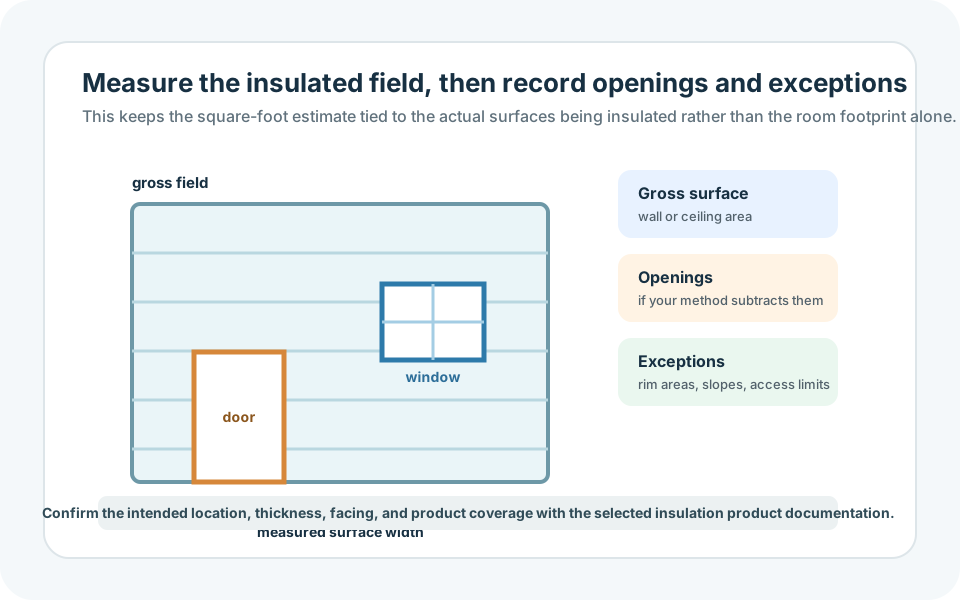
Measure net area, but record the gross area too
For a rectangular wall or ceiling, the starting arithmetic is ordinary:
Measure doors, windows, large openings, and framed features separately. Then decide whether an opening should be deducted for the product being ordered. A wide exterior window might remove batt area, while a small irregular area around a window can still create offcuts and labor. The point is not to make the lowest possible number; it is to leave a trail someone else can check.
A clear worksheet has four columns: gross surface, deductions, net insulated surface, and product assignment. If a 24 ft wall is 8 ft high, its gross area is 192 sq ft. If a 20 sq ft opening will not receive the same insulation, the net field is 172 sq ft. Keep the 20 sq ft deduction visible. Later, when the framing, product width, or plan changes, the calculation can be adjusted without remeasuring the whole wall.
Use the Square Footage Calculator for irregular room and wall shapes, then bring the separate totals back to the insulation list. This is safer than entering one combined house area and trying to remember what it contained.
Batts and rolls: use the package coverage as the purchasing unit
Batts and rolls are commonly purchased as packages with a stated coverage. Their real installed coverage depends on the exact width, length, thickness, and product type in that package. Do not estimate packages from a generic one batt per bay
shortcut, because bay widths, wall heights, cuts, and product dimensions vary.
Round according to the supplier's purchase unit, then note any additional material that is being carried for cuts or future repairs. For example, if a selected package states 64 sq ft of coverage and the documented adjusted wall area is 510 sq ft, the arithmetic result is 7.97 packages before any stated extra material. The purchase quantity may round to eight packages, but that does not prove the product is the correct width or performance level for the framing.
Check the label against the job before ordering:
- Product name and intended location.
- Actual coverage per package, not a remembered package size.
- Nominal and actual product width compared with the measured cavity or surface.
- Thickness and listed thermal performance for the selected assembly.
- Facing or backing details and any installation instructions that affect the material choice.
- Whether offcuts from one location can realistically be used in another.
When a roll is cut to length in a long ceiling or wall field, calculate its package coverage first and then draw the lengths on the sketch. That exposes seams and offcuts. A roll that appears efficient by area may be awkward in a short or highly interrupted field.
Loose-fill insulation is a volume-and-label calculation
Blown-in or loose-fill insulation needs a different worksheet. The installed depth matters, and a bag's published coverage is tied to a particular installed depth and product. Start by measuring the attic floor or other receiving surface in square feet. Then record the intended installed depth from the project requirements and the exact bag's coverage chart.
Imagine a clear attic floor of 900 sq ft with a planned installed depth of 12 in. The geometric volume is 900 cu ft. That is only a cross-check: the final bag count must come from the selected product's current coverage table at the planned installed depth, because products and published installed-density assumptions are not interchangeable.
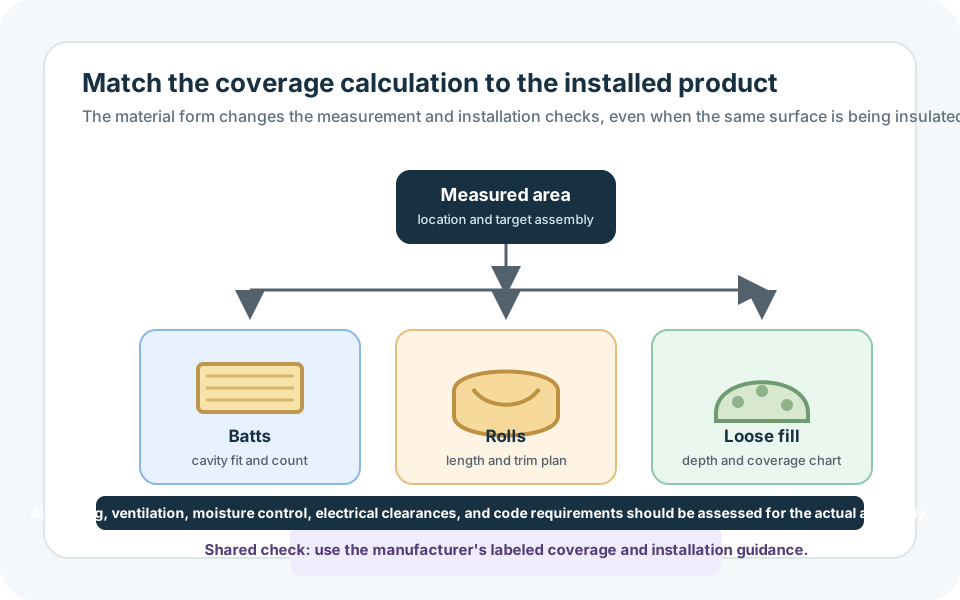
Keep an installation depth record with the estimate. If the bag label provides coverage at several depths, do not interpolate casually unless the manufacturer specifically provides a method. Use the labeled line that matches the intended depth or ask the supplier for current technical information. The calculation is most trustworthy when the estimate, delivery ticket, product label, and installed-depth record all refer to the same product.
Make waste an explicit decision, not an invisible percentage
Material loss can come from short cavities, interrupted framing, access openings, trim-outs, cutting around services, package rounding, and the desire to keep repair material. It can also be much lower in a broad, repetitive field than in a room with many interruptions. Instead of inserting an unexplained percentage, write a short reason next to any allowance.
| Takeoff line | How it is calculated | What to verify |
|---|---|---|
| Exterior wall batts | Net wall area divided by package coverage | Width, height, product type, openings |
| Attic loose fill | Area and planned depth, then bag chart | Exact bag label and installed-depth instructions |
| Small irregular areas | Measured separately | Whether the product fits and can be installed as intended |
| Extra material | Stated package or quantity | Reason: cuts, repairs, delivery rounding, or project direction |
That format makes a later review much faster. If a wall package changes from 64 sq ft to 48 sq ft, the base area remains valid and only the package calculation changes. If the attic depth changes, the wall lines are unaffected.
Do not use a quantity estimate to hide air, moisture, or safety questions
The U.S. Department of Energy describes insulation and air sealing as related home-energy improvements, and its Standard Work Specifications provide a useful reminder that quality work is more than placing material in a cavity. A material estimate should therefore flag conditions that require project-specific attention: known roof leaks, wet framing, combustion or electrical equipment, ducts, ventilation paths, recessed fixtures, access hatches, and areas where the correct air or vapor-control strategy is unknown.
Do not compress, force, cover, or modify a product simply to make the estimate fit. Follow the selected manufacturer's instructions and consult the responsible professional when the condition affects safety, moisture control, required clearances, or code compliance. This guide is intentionally about quantity planning, not a substitute for an energy assessment, electrical review, or building-envelope design.
Final order check
Before purchasing, compare each line item with the actual label or product data sheet one last time. Confirm the coverage, depth, thickness, width, package count, product code, and delivery lead time. Verify that the quantity reflects the measured net area plus a disclosed allowance, not a generalized whole-house multiplier. If the design changes after the estimate, update only the affected takeoff lines and retain the old note so the change is traceable.
The best result is a short, auditable list: where the material goes, the dimensions behind it, the exact product coverage used, and any unresolved installation question. That is more useful to a homeowner, installer, or supplier than an impressive-looking single number.
Sources and assumptions
These links support the specific material, product, or reference points used in this guide. Local conditions and supplier specifications can still vary.
- U.S. Department of Energy: Insulation and Air Sealing Explains that insulation and air sealing are related energy improvements and that product and installation requirements matter.
- U.S. Department of Energy: Standard Work Specifications for Home Energy Upgrades A reference framework for quality home-energy work; use the applicable local requirements and the selected product instructions for a project.