
How to Measure a Roof for Shingles: Planes, Pitch, Waste, and Flashing
Measure roof planes from a safe plan or verified dimensions, convert plan area to sloped area, and keep shingles, underlayment, flashing, ventilation, and waste as separate takeoff decisions.
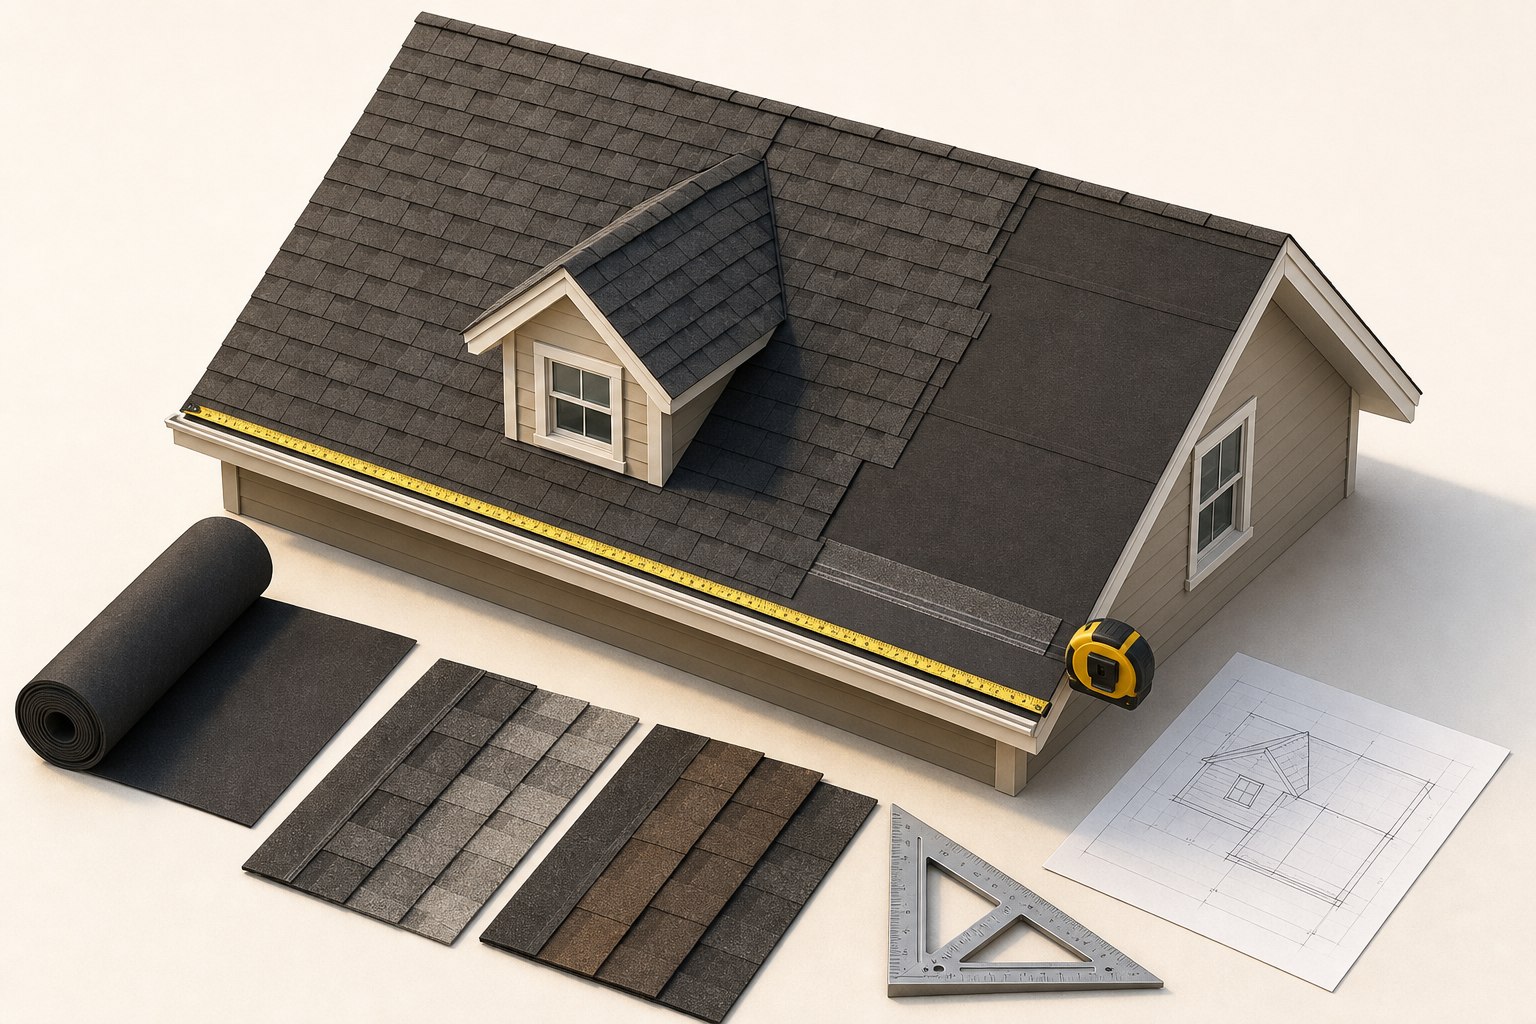
A roof takeoff should make the roof easier to inspect, not encourage an unsafe measurement trip. Start with plans, supplier measurements, photographs, a ground-level check, or dimensions collected by a competent person using appropriate methods. Break the roof into named planes, record the pitch for each plane, and then list field shingles, edges, valleys, flashings, penetrations, and ventilation as separate material decisions. Our Roofing Calculator helps organize area and package arithmetic; it does not inspect a roof, determine whether it is safe to walk, or prescribe an installation system.
Do not use a material estimate as a roof condition report. Deck condition, moisture damage, ventilation, ice and water protection, flashing, local wind requirements, and fall protection need project-specific assessment and the instructions for the exact roof system.
Map the roof before doing any multiplication
Draw the roof as if it were viewed from above. Name each plane A, B, C, and so on. Mark ridges, hips, valleys, eaves, rakes, walls, dormers, skylights, chimneys, plumbing penetrations, and changes in pitch. If a roof has a main rectangle plus two small dormers, do not combine them into one large rectangle and hope the total compensates for the details. Each plane has a different slope area and each transition can require different accessories.
For every plane, record its horizontal length and horizontal run. The horizontal measurements form its plan area. If an eave overhang is part of the roof covering, include it in the roof plane dimensions rather than relying on an interior floor footprint. A house footprint can be smaller, larger, or shaped differently from the actual roof coverage.
For a triangular plane, use half the rectangle calculation:
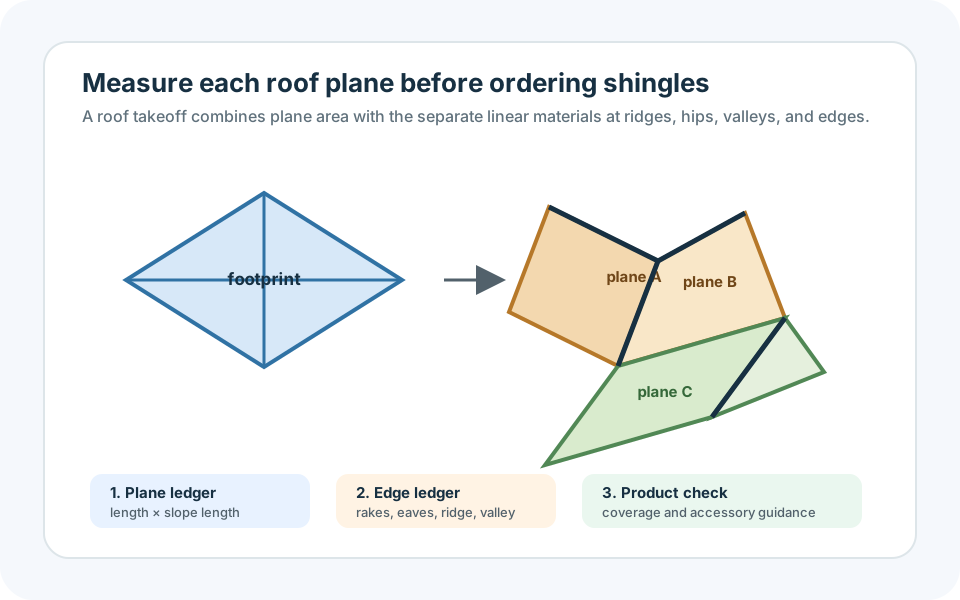
Convert horizontal area into sloped roof area
Shingles cover the sloped surface, not the horizontal projection. A pitch describes rise over a horizontal run, commonly written as rise-in-12. A 6-in-12 pitch rises 6 inches over a 12-inch horizontal run; it does not mean the sloped surface is 6 percent larger. Use the pitch for that plane to apply an appropriate slope factor, or measure the sloped dimension directly when a reliable drawing provides it.
Keep the pitch source in the worksheet: construction drawing, verified site measurement, supplier report, or other stated record. If one side of a roof is 6-in-12 and a dormer is 12-in-12, calculate them separately. A single average pitch can disguise an error on a roof with multiple geometries.
Example: if Plane A has a 400 sq ft plan area and the documented slope factor for its measured pitch gives a 1.12 multiplier, the preliminary sloped area for that plane is 448 sq ft. Write the factor and source beside the calculation. Then repeat for every other plane before adding the field area. The arithmetic is transparent, but it is only as dependable as the dimensions and pitch inputs.
Count field shingles by the selected product package
Once the gross sloped area is known, subtract only those openings that actually remove field shingles and are large enough to make a practical difference in the layout. A chimney opening might reduce field coverage, but its surrounding flashing and cuts can create more material handling than a simple area subtraction suggests. Small vents and pipe penetrations generally need their own flashing details, not a small fractional reduction in the shingle order.
Use the coverage printed for the exact shingle package and system. A roofing square is 100 sq ft of roof surface, but bundles per square, starter coverage, ridge-cap coverage, nail requirements, and accessory details vary by product. Do not use a remembered number of bundles per square in place of the current package label and installation document.
| Takeoff line | Measure or count | Final check |
|---|---|---|
| Field shingles | Total sloped plane area plus stated waste | Current package coverage and product color/line |
| Starter strip | Eave and applicable rake runs | System instructions for the selected product |
| Ridge and hip caps | Total ridge and hip lengths | Cap package coverage and ventilation details |
| Valley material | Each valley length and specified system | Manufacturer and local requirements |
| Flashing and penetrations | Each wall, chimney, vent, and skylight condition | Detail-specific material and sequence |
Waste is geometry, not a mystery percentage
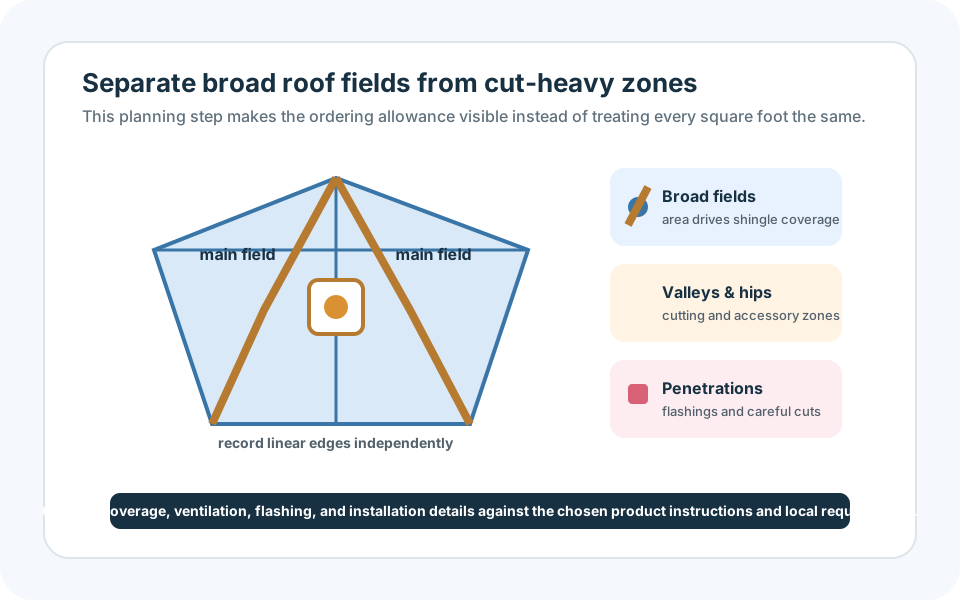
Make the waste allowance visible and explain what caused it. A wide, uncomplicated gable roof with long straight runs may cut very differently from a roof with multiple hips, valleys, dormers, narrow planes, steep slopes, and many penetrations. The same field area can produce substantially different cut patterns. Keep the measured field area and waste addition as separate numbers so they can be reviewed.
Start by marking the end cuts, valleys, ridges, dormers, and transitions on the plan. Identify which cut pieces can be reused within the same product and pattern. Some offcuts can be reused; others cannot be placed in a location that maintains the required installation pattern. Use current product instructions for alignment, exposure, starter, hip, ridge, and valley treatment. Do not claim that a generic waste percentage guarantees an exact order.
Accessories deserve their own worksheet
Roofing failures often occur at transitions rather than in the middle of a field shingle. Make a separate count and linear-foot list for eaves, rakes, ridge, hips, valleys, wall intersections, chimneys, skylights, plumbing penetrations, vents, and any existing components that will be replaced. Include the selected underlayment, starter, cap, flashing, sealant only where the system calls for it, and fasteners. Product compatibility matters: the product documents for the specific roof system are more useful than a generic shopping list.
Ventilation is another reason not to collapse everything into square footage. Intake and exhaust location, roof assembly, existing ventilation, local requirements, and the selected system must be evaluated as a design and installation question. A calculator can help count a listed vent product after the requirements are known; it should not decide the ventilation design from an area total.
Use a safe verification pass
Compare the plan with multiple independent sources: aerial or supplier measurement report, construction drawing, a measured eave run, clear photographs, and a visual check from the ground. Reconcile differences before ordering. Check that each roof plane appears once, that overhangs are included, that the pitch belongs to the correct plane, and that ridge and valley lengths have not been counted as field area.
Then verify the order at the supplier: exact shingle product, coverage per bundle, bundles per square, matching starter and cap products, underlayment type, valley and flashing requirements, required fasteners, and availability of the selected color. If any package size, product, or roof plan changes, update the takeoff rather than carrying over an old rounded total.
Limits of a shingle material estimate
This guide does not determine whether a roof deck needs repair, whether existing layers can remain, whether a slope is appropriate for a product, whether an ice-barrier location is required, which flashing detail applies, or whether work should proceed in a particular weather condition. It also does not replace fall-protection planning or a professional inspection. Treat it as a measurement and ordering worksheet, then have the responsible installer or project professional confirm the roof condition and complete system.
The most useful final document is modest and specific: a labelled roof plan, plane dimensions, pitch source, gross and net sloped area, waste rationale, edge and transition lengths, exact product coverage, and unresolved questions. That record is more valuable than a single square count because it shows what must be checked before materials arrive.
Sources and assumptions
These links support the specific material, product, or reference points used in this guide. Local conditions and supplier specifications can still vary.
- Owens Corning Roofing: DIY Roofing articles Manufacturer educational material. Use the current instructions for the exact shingle and accessory system selected for the project.
- Owens Corning Roofing documents Product documents and installation instructions vary by product line, region, roof condition, and warranty system.