
How to Estimate Riprap by Layer Volume: Area, Thickness, and Delivery Weight
Turn a documented bank, channel, or slope layout into a riprap material takeoff while keeping rock sizing, hydraulic design, and site safety out of a simple quantity calculation.
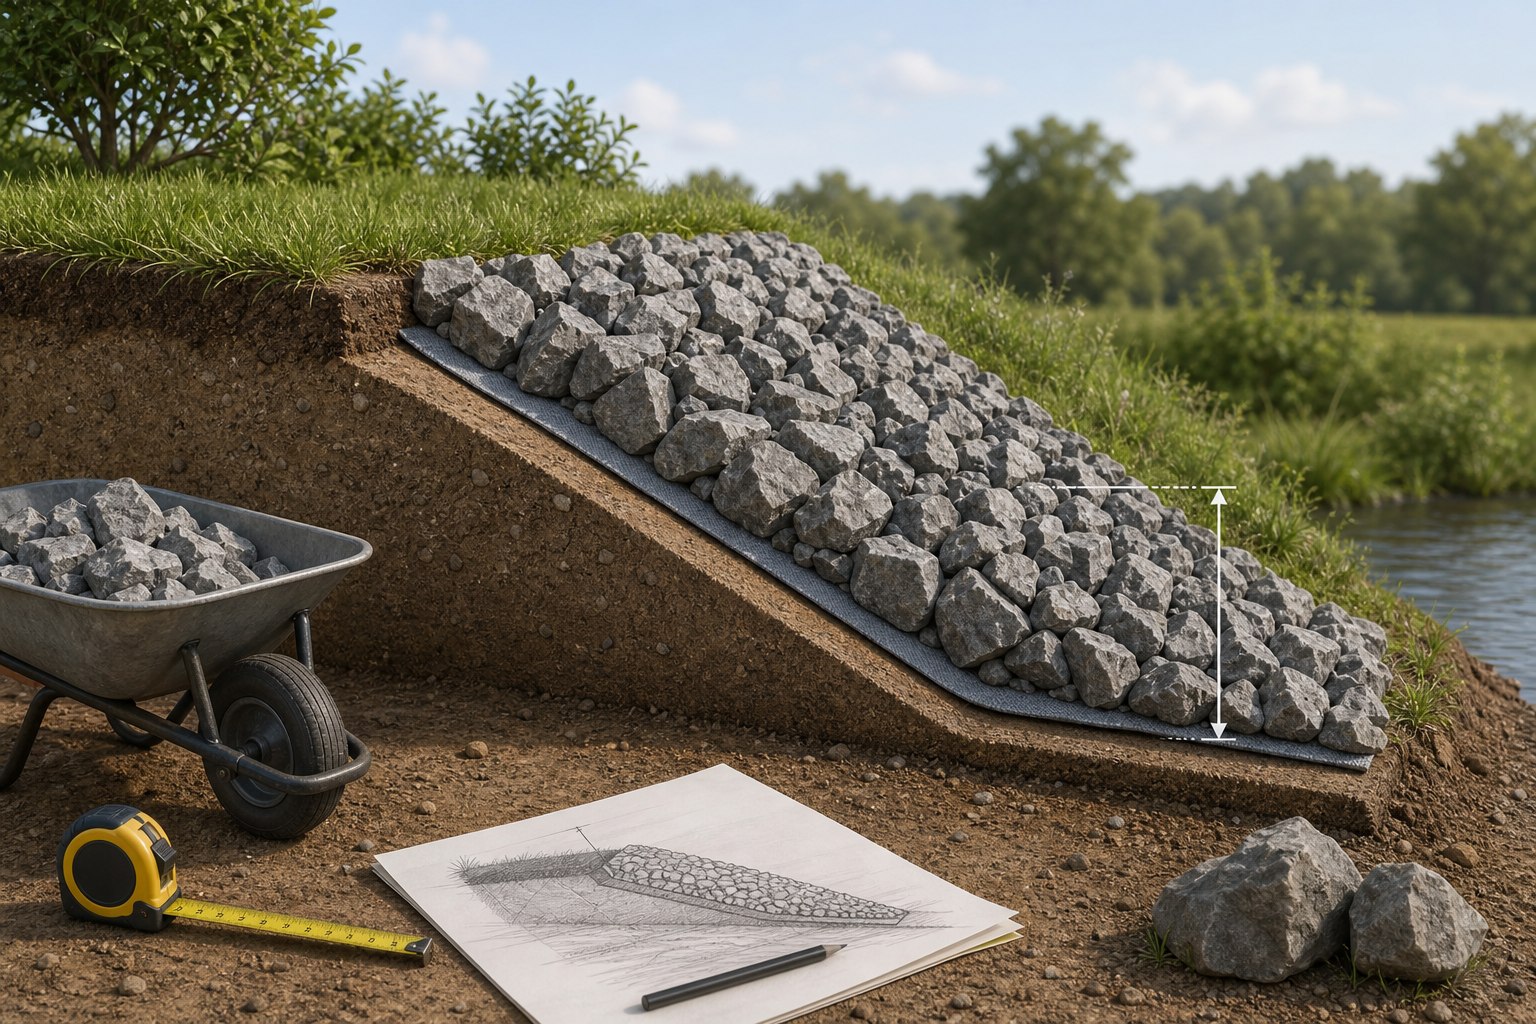
Riprap is often ordered by a delivery weight, but the planning begins with a layer volume. The material quantity is the easy part only after the project has identified the protected limits, rock gradation, filter or bedding requirements, layer thickness, and supplier delivery unit. Our Riprap Calculator helps convert documented dimensions into a material estimate; it does not size rock, analyze flow, approve a bank slope, or replace a drainage, hydraulic, geotechnical, or permitting review.
Do not select riprap from quantity alone. The U.S. Army Corps of Engineers and HEC-RAS materials show that rock sizing and channel protection are engineering questions. Start this takeoff only when the project documents identify the required rock and layer arrangement.
Define the protected surface before counting stone
A useful riprap sketch has an upstream limit, downstream limit, top and bottom limits, cross sections or slope lengths, and any transitions around structures. Mark locations where the stone layer stops, turns a corner, overlaps a different treatment, or meets a culvert, wall, toe, or outlet. A site with a 100 ft bank length may need much more than a 100 ft line item because its face has height, slope, bends, and end treatment.
Separate these elements on the takeoff sheet:
- Main bank or channel-face coverage.
- Toe or trench areas called for by the design.
- Transitions at the top, ends, inlets, outlets, or structures.
- Filter, bedding, geotextile, or underlayment items if they are specified.
- Access, stockpile, and delivery constraints that may affect the order but are not part of installed volume.
Do not invent a toe depth, a layer thickness, or a transition length because a calculator asks for a number. Put an unresolved design item on the sketch and obtain it from the responsible design documents. This preserves the difference between a preliminary budget and a buildable quantity.
Measure the actual face, not just the plan view
On a flat rectangular area, coverage is length times width. On a slope, the most direct field quantity is usually the measured slope length multiplied by the run length along the bank. If only horizontal and vertical dimensions are available, the project team may use a cross-section drawing to determine the actual face length. Record which measurement was used so someone checking the estimate does not accidentally apply the slope factor twice.
For a bank with consistent dimensions, this is straightforward. For a curved channel, a changing height, or irregular plan geometry, divide the surface into smaller strips or stations. Record each strip's average face length and run. The sum is often more reliable than treating a complex bank as one rectangle.
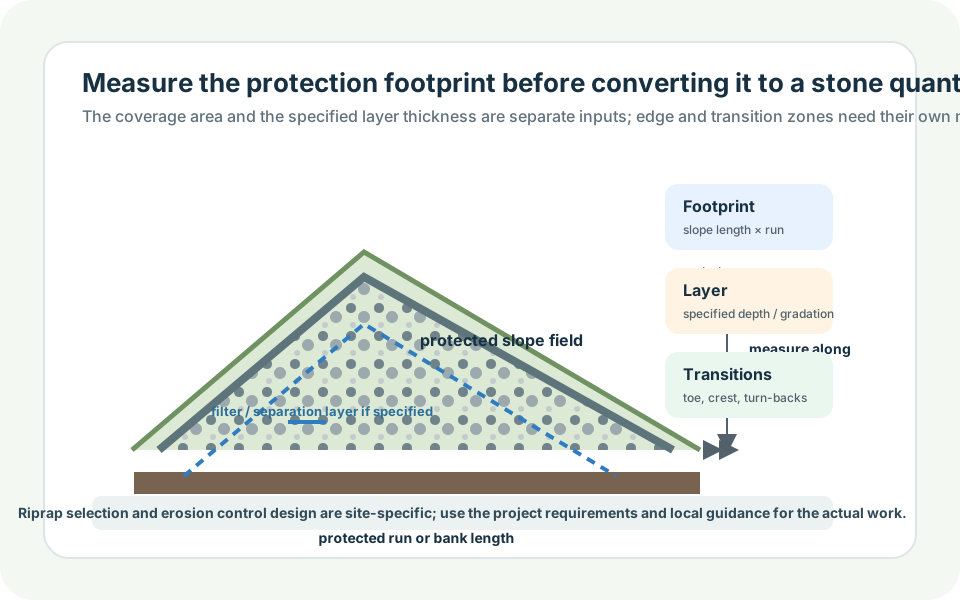
Example: a documented armored face is 12 ft along the slope and 80 ft long. Its coverage area is 960 sq ft. If a neighboring section is 9 ft along the slope and 40 ft long, add its 360 sq ft separately. Keeping the two areas apart makes it easy to revise one section when the field layout changes.
Use the specified installed layer thickness
Once the protected surface is measured, multiply it by the thickness stated for that portion of the work. Convert inches to feet before calculating volume:
With 960 sq ft of coverage and a specified 12 in layer, the geometric volume is 960 cu ft, or about 35.6 cubic yards. That number does not describe a rock size, a stable thickness, a construction method, or a delivered tonnage. It is the geometry of the documented layer only.
Keep each thickness as its own line. A specified toe, apron, or transition may have different geometry than the bank face. Combining all areas under one assumed thickness creates a calculation that looks precise while hiding its most consequential assumption.
Convert volume to delivered weight using the supplier's information
Quarries and suppliers may sell riprap by ton, by truckload, or by another local unit. The conversion from a compact geometric layer to delivery weight depends on the actual gradation, rock type, moisture, handling, voids, and the supplier's stated unit weight. There is no single accurate tons-per-cubic-yard value for every riprap product.
Ask the supplier for the product name, gradation, unit weight, minimum load, and the unit in which it is quoted. Put those facts beside the calculation. If the supplier uses tons and provides a bulk unit weight in pounds per cubic foot, divide by 2,000 after multiplying; if it provides tons per cubic yard, use that stated conversion directly. Do not quietly borrow a density from gravel, concrete, or a different rock gradation.
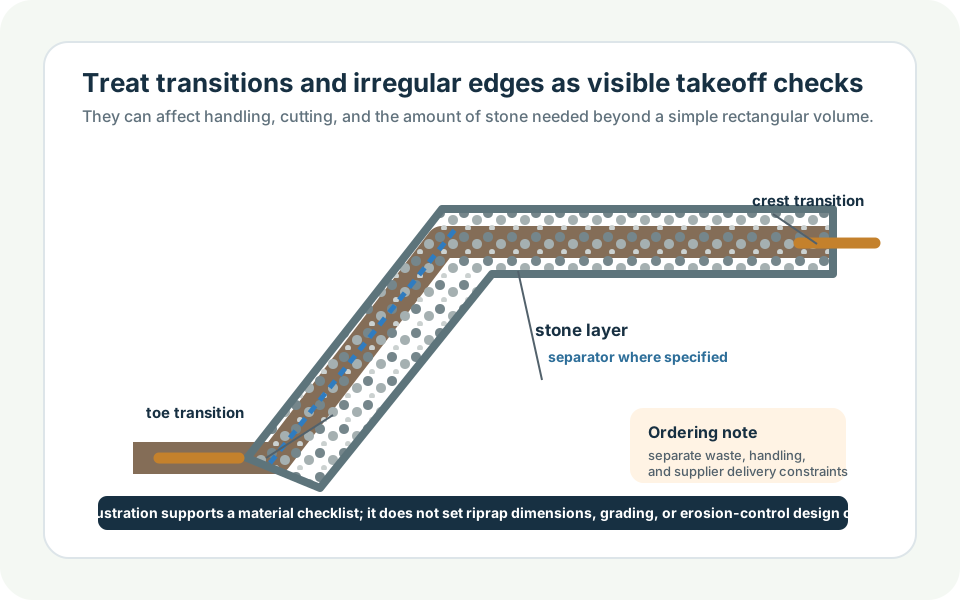
It is reasonable to carry a separate, disclosed contingency for irregular edges, handling loss, final shaping, or supplier load rounding. It is not reasonable to call that contingency a designed thickness or a rock-sizing allowance. State it plainly, for example: one additional supplier load for field trimming, subject to confirmation.
Keep filters, geotextile, and excavation as separate items
Many riprap details involve more than stone. A project may specify preparation of the subgrade, a bedding layer, a granular filter, geotextile, a toe trench, or erosion-control treatment. Each has different units and acceptance criteria. Estimate them in separate lines so the stone quantity does not obscure what must happen underneath it.
For a specified planar geotextile, the first planning quantity may be the protected surface area plus documented overlaps and anchoring details. For an excavation or trench described by a cross section, use its own geometry and the Excavation Calculator rather than assuming that stone volume equals removed soil volume. For a granular bedding layer, use its specified thickness and material type; the Gravel Calculator can organize that separate estimate.
| Line item | Typical takeoff unit | Do not infer from |
|---|---|---|
| Riprap layer | Surface area, thickness, then supplier delivery weight | A generic gravel density or a plan-view area only |
| Filter or bedding | Specified area and thickness | Riprap volume |
| Geotextile | Installed surface and specified overlap/detail | Stone tonnage |
| Toe excavation | Documented cross section and length | Assumed stone depth |
Build a verification pass before ordering
Read the sketch from upstream to downstream and confirm that every protected reach appears once. Compare field dimensions, grading drawings, and the supplier quotation. Check units carefully: a 10 in specified layer is not 10 ft, a slope length is not a horizontal width, and a ton is not a cubic yard. Have a second person recalculate one representative section from the notes, not only from the final total.
Then verify practical logistics. Can the intended truck reach a safe unloading location? Is a stockpile area available? Does the project require a particular sequence with filter materials or grading? Are there wet conditions, unstable ground, utilities, public-waterway rules, or work-zone risks that need a competent site review? These questions can change the order or construction approach even if the stone arithmetic is correct.
Where the calculator stops
The cited USACE and HEC-RAS references make an important boundary clear: riprap performance depends on conditions such as flow, geometry, gradation, foundation, and design detail. This guide does not provide a method for selecting a stone size or judging whether a bank, channel, retaining wall, shoreline, culvert outlet, or drainage feature is safe. Use the calculator after those choices are documented, and consult an appropriately qualified engineer or agency when the project involves waterways, erosion, public drainage, structural support, or permits.
A good material takeoff is still valuable. It creates a traceable chain from the specified protection limits to square feet, thickness, cubic volume, supplier unit weight, and delivery quantity. That lets the designer, contractor, supplier, and owner see exactly what changed when the plan changes.
Sources and assumptions
These links support the specific material, product, or reference points used in this guide. Local conditions and supplier specifications can still vary.
- U.S. Army Corps of Engineers: Hydraulic Design of Flood Control Channels Engineering reference that demonstrates why bank protection and channel work require project-specific hydraulic and geotechnical design, not a generic stone quantity.
- HEC-RAS User Manual: Riprap Calculator - Sizing Rock Gradation Shows that riprap sizing and gradation relate to hydraulic analysis; this guide uses a specified gradation only after that design work is complete.